
Even if you regularly clean your motorcyle helmet and its fabric liner, you will, after years of using the lid, want to restore its brand-new shine and refresh the cheek pads and liner foam.
Most helmets come with an interior liner and pads that can be removed for air-drying or washing. You will notice that after every washing, the foam gradually becomes thinner, and that your helmet may appear to fit one or two sizes bigger. A loose-fitting helmet is not effective at keeping you safe in an accident: It can be knocked out of your head or your skull will bounce around inside the shell, causing a concussion. To ensure your helmet will continue doing its task of ensuring your safety, you should inspect its construction regularly and restore it to a good-as-new condition as needed.
There are professional helmet detailers who offer services similar to car or motorbike detailing. The service is not inexpensive because it is tedious work. If you’d enjoy doing it yourself, and you have a free afternoon, you can detail your helmet, and it should be dry and sparkling for your ride the next day. Here’s our DIY helmet detailing guide:
1) Clean the helmet’s interior.
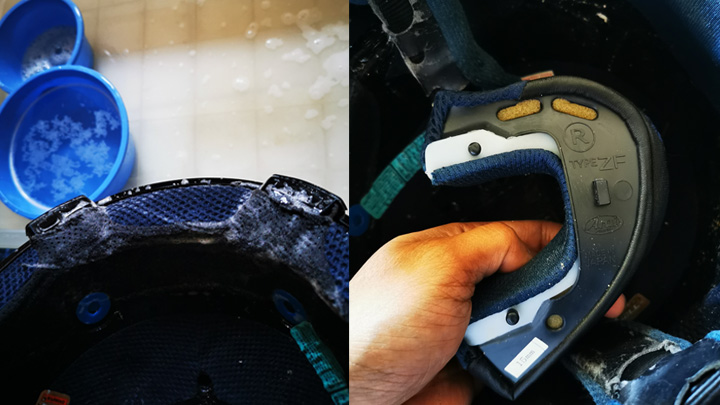
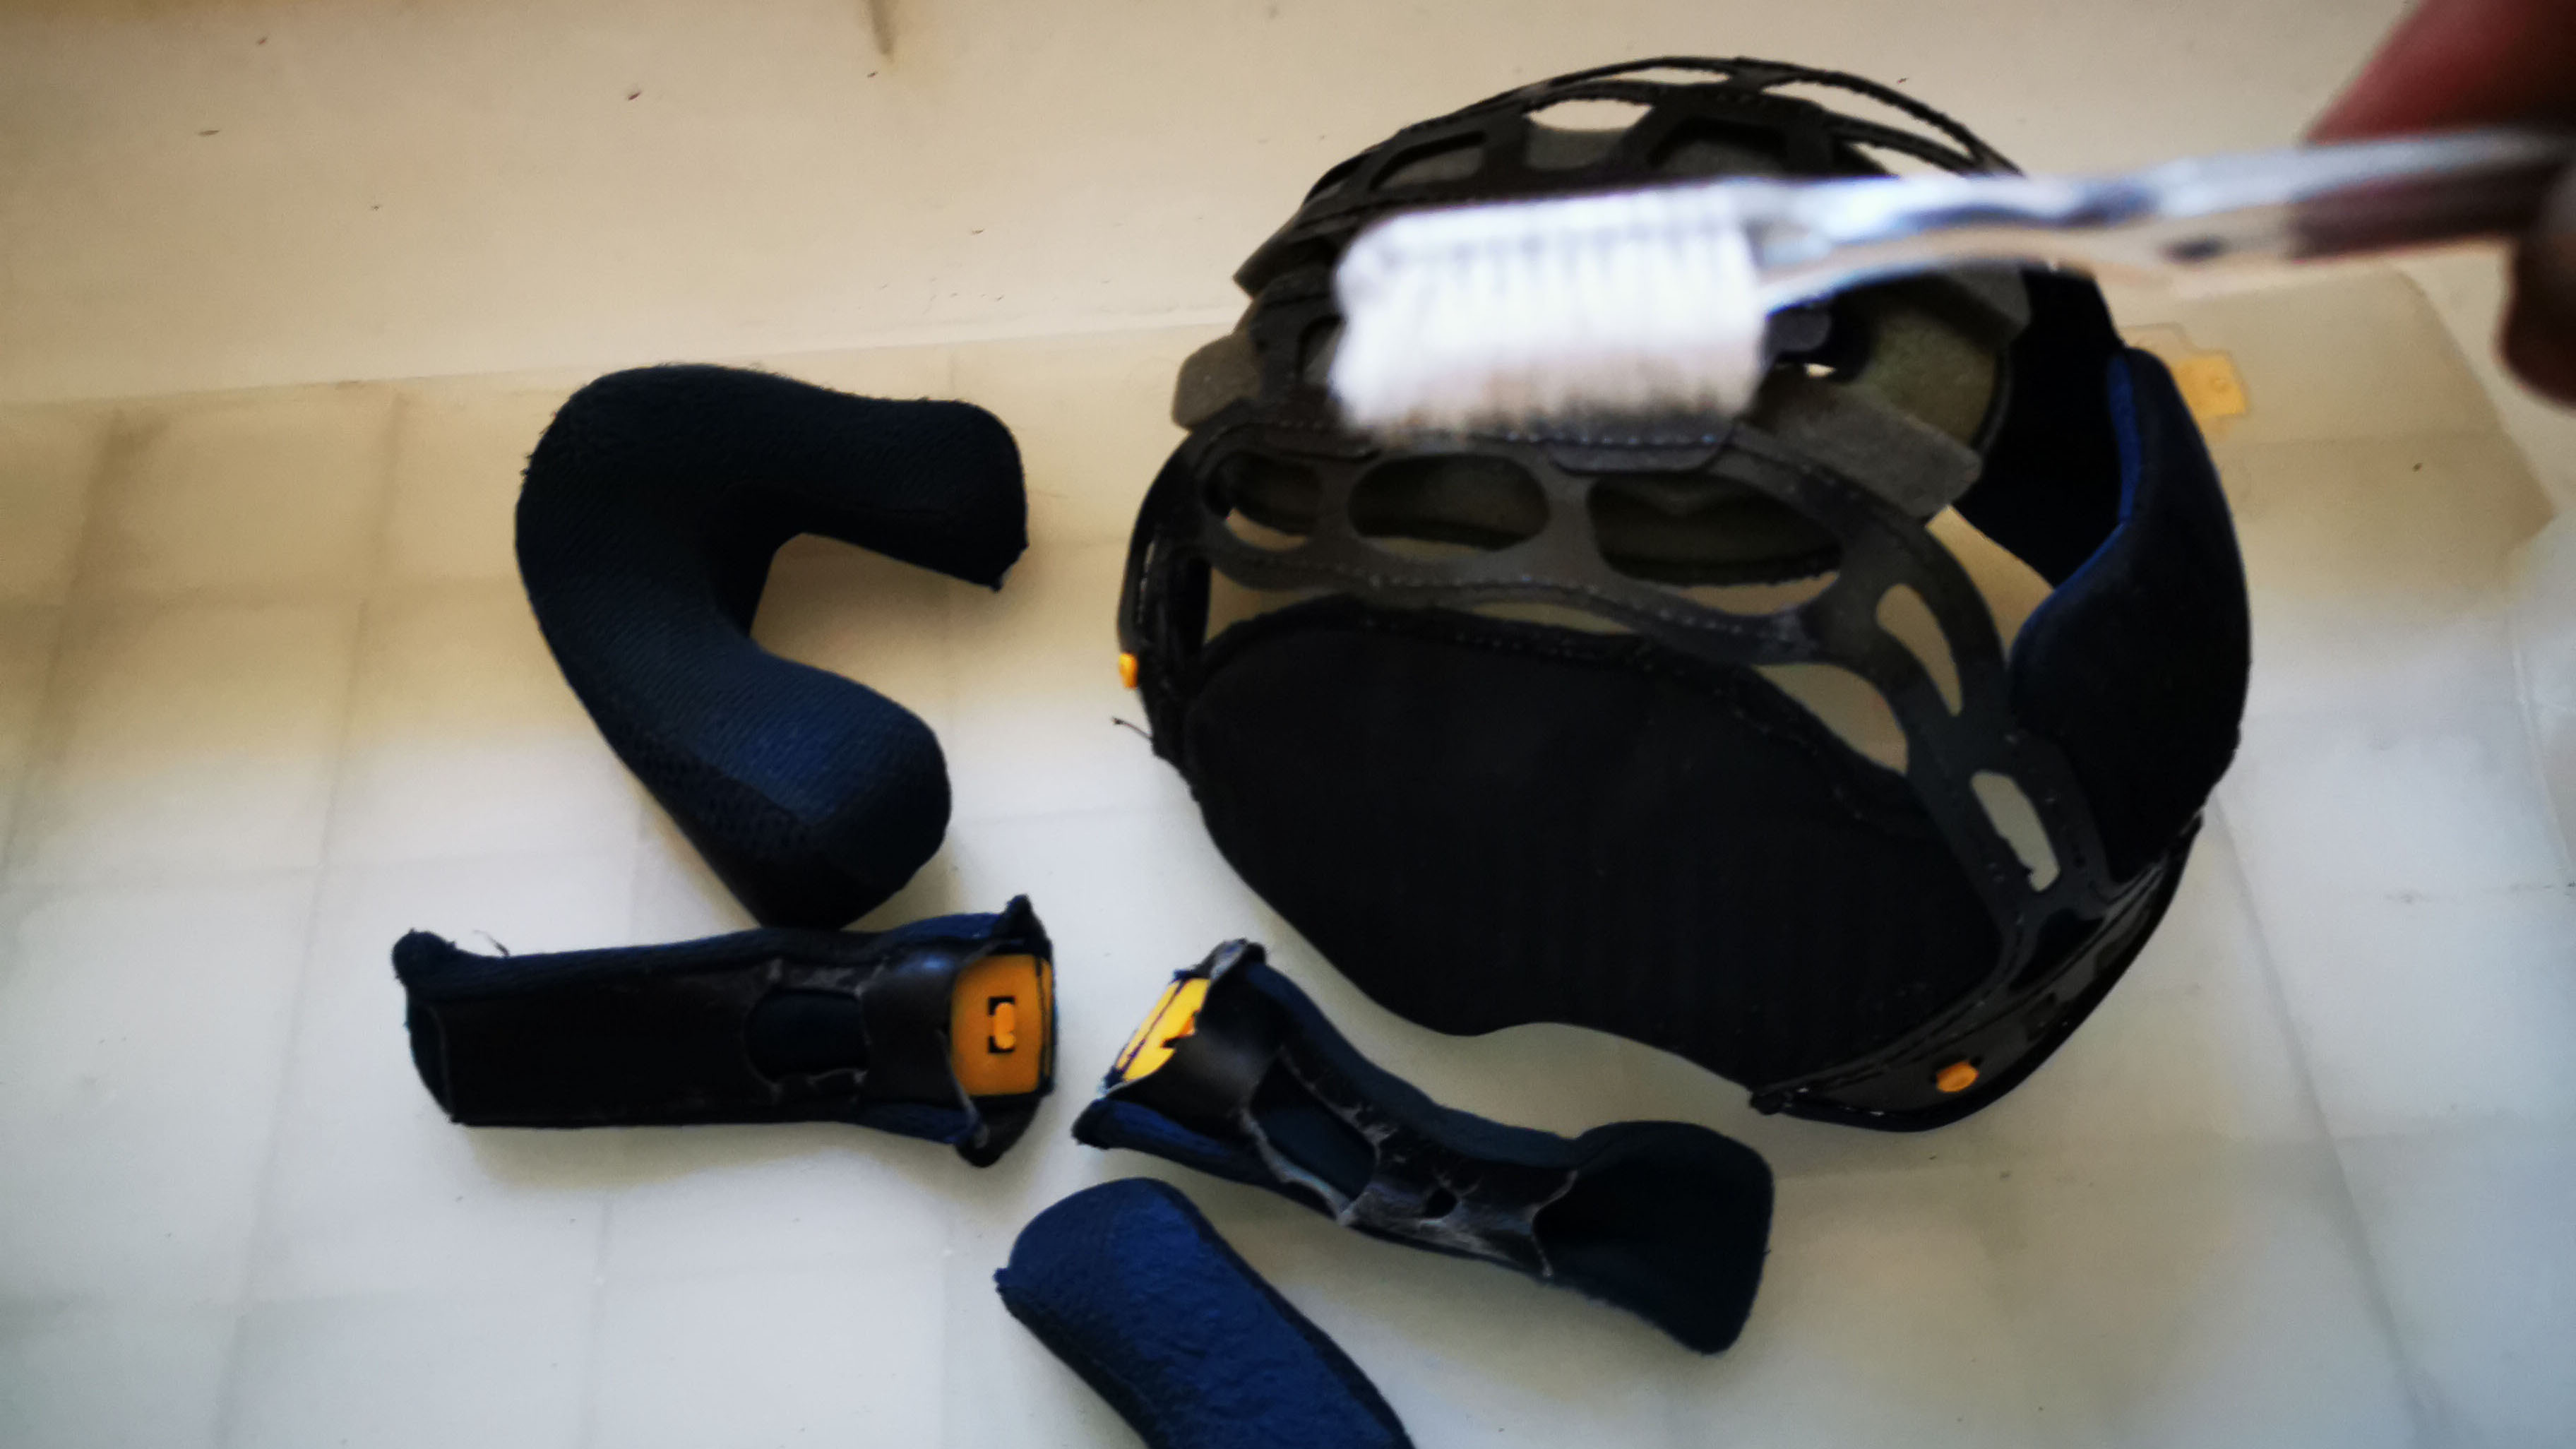
Take out the inner liner and cheek pads. If the chin straps have comfort pads, remove those, too. In your bathroom sink or a basin, mix a small amount of baby shampoo with lukewarm water. My helmet detailer, who patiently taught me his techniques, swear by high-tech fabric cleaners meant for synthetic materials. I reckon baby shampoo is milder, and it smells better too. Wash the pieces gently and rinse them thoroughly. If the helmet liner is not removable, you have no choice but to dunk the whole helmet.
I wash the inside of my helmet like I wash my bike: with the proven two-basin method. Use a toothbrush with soft bristles to clean the liner carefully. Dip the brush on the basin with soapy water, agitate the fabric liner, then rinse the dirt off the brush on the bowl of clean water. Repeat until the brush can’t pick up any more grime. Don’t forget to scrub the chin strap as well.
2) Dry the interior parts gently.

If you’ve soaked the helmet completely, it will probably need the whole day to dry, so plan accordingly if you have only one helmet and you will use it the next day. Allow the fabric and foam to air-dry; an electric fan can speed things up. Avoid heat or sun exposure, and don’t wring out or twist the pads. Instead, lightly press on a towel to soak up excess water. The foam and the fabric are delicate when wet; they lose their form and sag when wrung, or they could discolor and crumble under extreme heat.
3) Clean the helmet shell and lens.
Wash the exterior with car shampoo, then towel-dry. Cotton buds are handy for picking dirt off the vents. The mouth vent may have a filter to keep mud or bugs out; check and remove it for cleaning or replacement.
Detach the visor lens and wipe the inner side with an ammonia-free cleaner. I prefer a helmet-lens-specific cleansing agent that has both UV-protection and anti-fog properties. Avoid rubbing the lens too much; it’s difficult to put a scratch on it because it’s treated with a coating, but once it’s got a gash, it will be almost impossible to smooth out the scratch. Polishing it will only remove that hard-to-recreate anti-scratch coating.
4) Restore the factory lens protection.
From the factory, helmets come fresh with UV, anti-scratch, and anti-fog protection, but after hours of exposure to the elements and multiple cleaning, these protective coatings may have already rubbed off. Constant blasts of ultraviolet light will make the plastic lens brittle over time, so reapply that protection often to prevent cracking.
5) Polish the exterior finish.
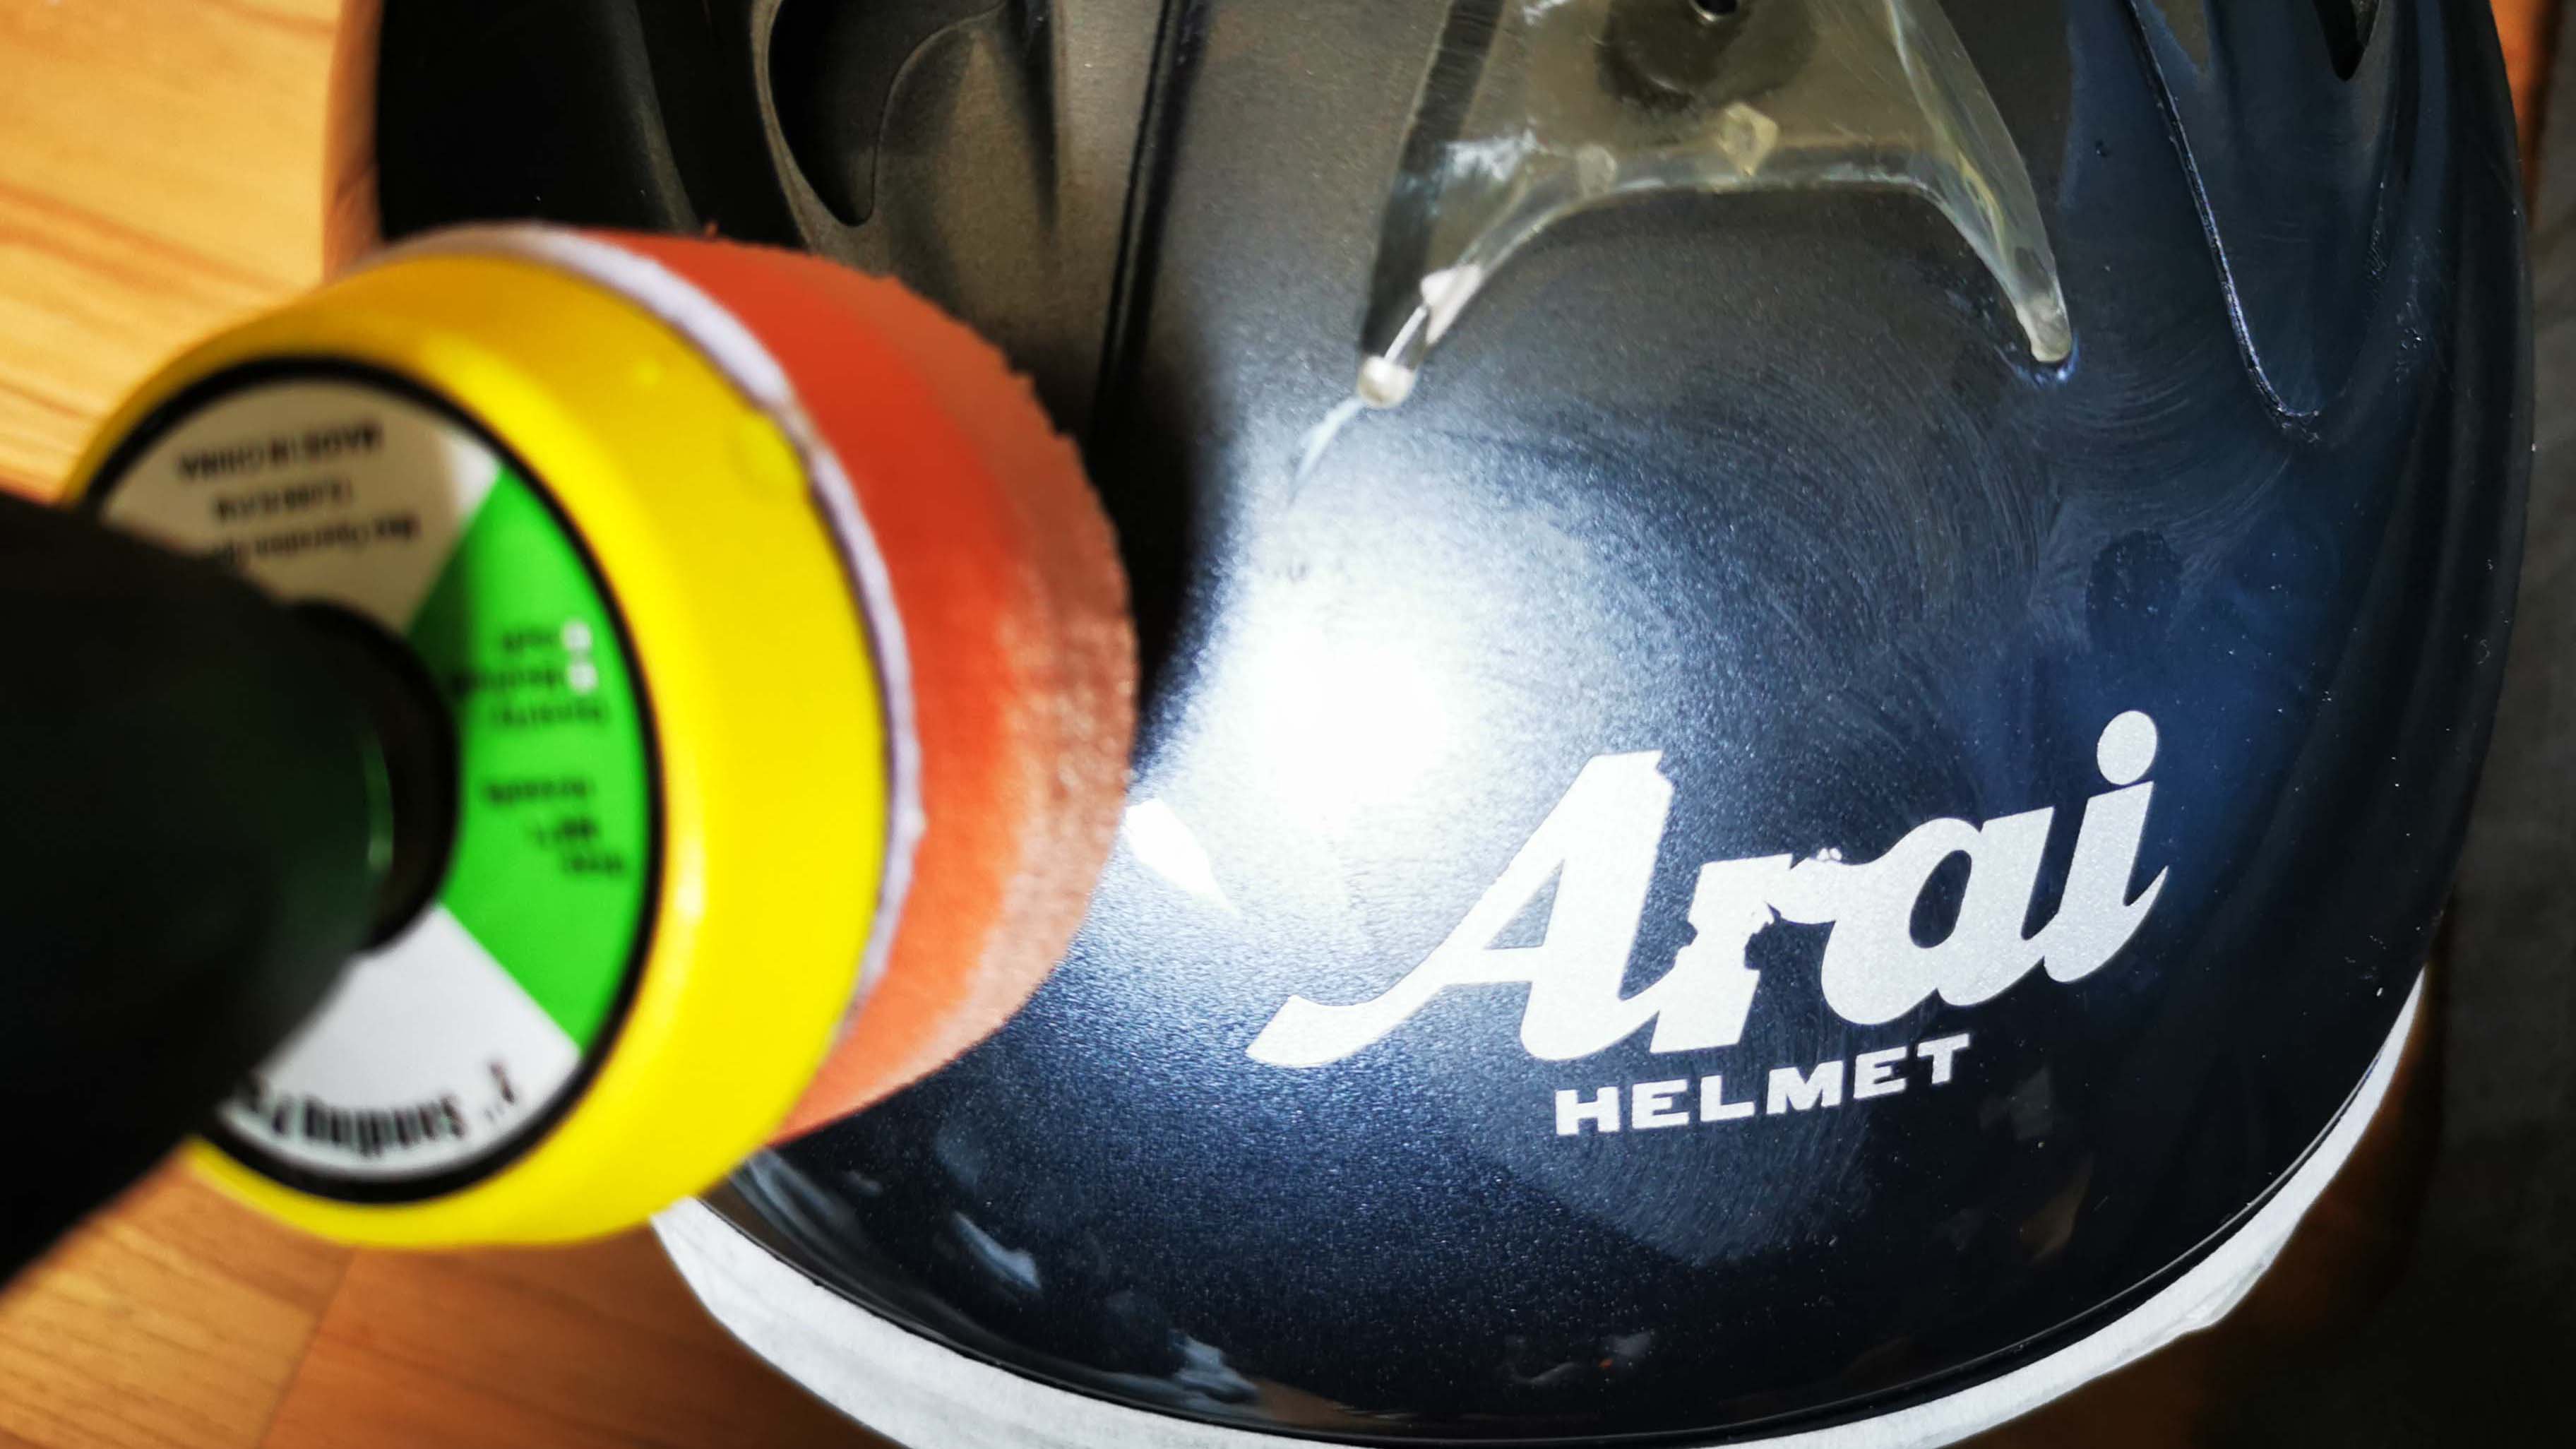
If your helmet’s finish is paint and a clear coat, you can polish it like you would your bike’s painted finish. If it’s polished plastic, you can utilize the appropriate polishing product.
To figure that out, check the helmet’s care instructions, or do a test polish on an inconspicuous area. Protect with masking tape the rubber trim around the edges, and those on the lens lid seal. Buff a small section at a time and check frequently; you don’t want to burn a hole through the clear coat or mar the plastic finish, especially if you’re using a rotary buffer. Most helmet clear coats are softer than vehicle exterior clear coats. The finish on the polished plastic helmet shells is delicate as well.
If the paint has a lot of swirl marks, I’d recommend paint correction; use a compound, then polish. Paint chips can be retouched and sanded down prior to rubbing with a compound. Choose a mild rubbing compound and a less aggressive buffing pad. A small sachet of a compound is enough to detail a whole car or several hard hats.
6) Seal or wax the blemish-free finish.
Automotive paint sealants provide months of surface protection. Quality carnauba wax will give an enduring shine for weeks. If available, ceramic coatings make your paint finish resistant to scratches, and it lasts for years.
7) Lubricate the lens hinge, side-plate mechanism, and rubber parts.
The old grease on the mechanism will have attracted dust and gunk over time. The base and lens gaskets will also benefit from a dash of oil, preventing the rubber from dry rotting. Silicone oil acts like a rubber conditioner and replenishes lost moisture. Clean and dry the rubber surfaces and the plastic mechanism before smearing lube. A small drop of heavy oil or silicone grease on the hinge will make flipping the lens smooth. Dab the rubber trim with a lighter-grade silicone oil and spread it evenly. Shock oil for remote-controlled model cars is 100% silicone and comes in small bottles and different weight grades.
8) Replace worn-out parts.

Rubber gaskets provide a seal from air draft, and if degraded, they make the helmet noisy at speed. The lens may be cracked or scratched up; both are safety issues. Wind blast can break a cracked lens, causing eye injuries, and deep scratches will create blinding glare and distortion, resulting in poor visibility.
Manufacturers recommend the replacement of cheek pads and inner foam liners after a specific period of use. They come in various thicknesses and sizes. Make a note of the old one’s specifications and order the correct replacement. It’s also an opportunity to improve the helmet’s fit: You can change to thinner cheek pads if you’ve lingered by the buffet table, or thicker headliners if you’ve lost most of your mane.
[ArticleReco:{"articles":["30908","35516","35489","35487"], "widget":"See Also"}]
Source: Top Gear

No comments:
Post a Comment